Hosta Propagation: How to Propagate and Tips
Home Grown Gardening: Propagating Hostas (Plantain Lilies) from Gardening
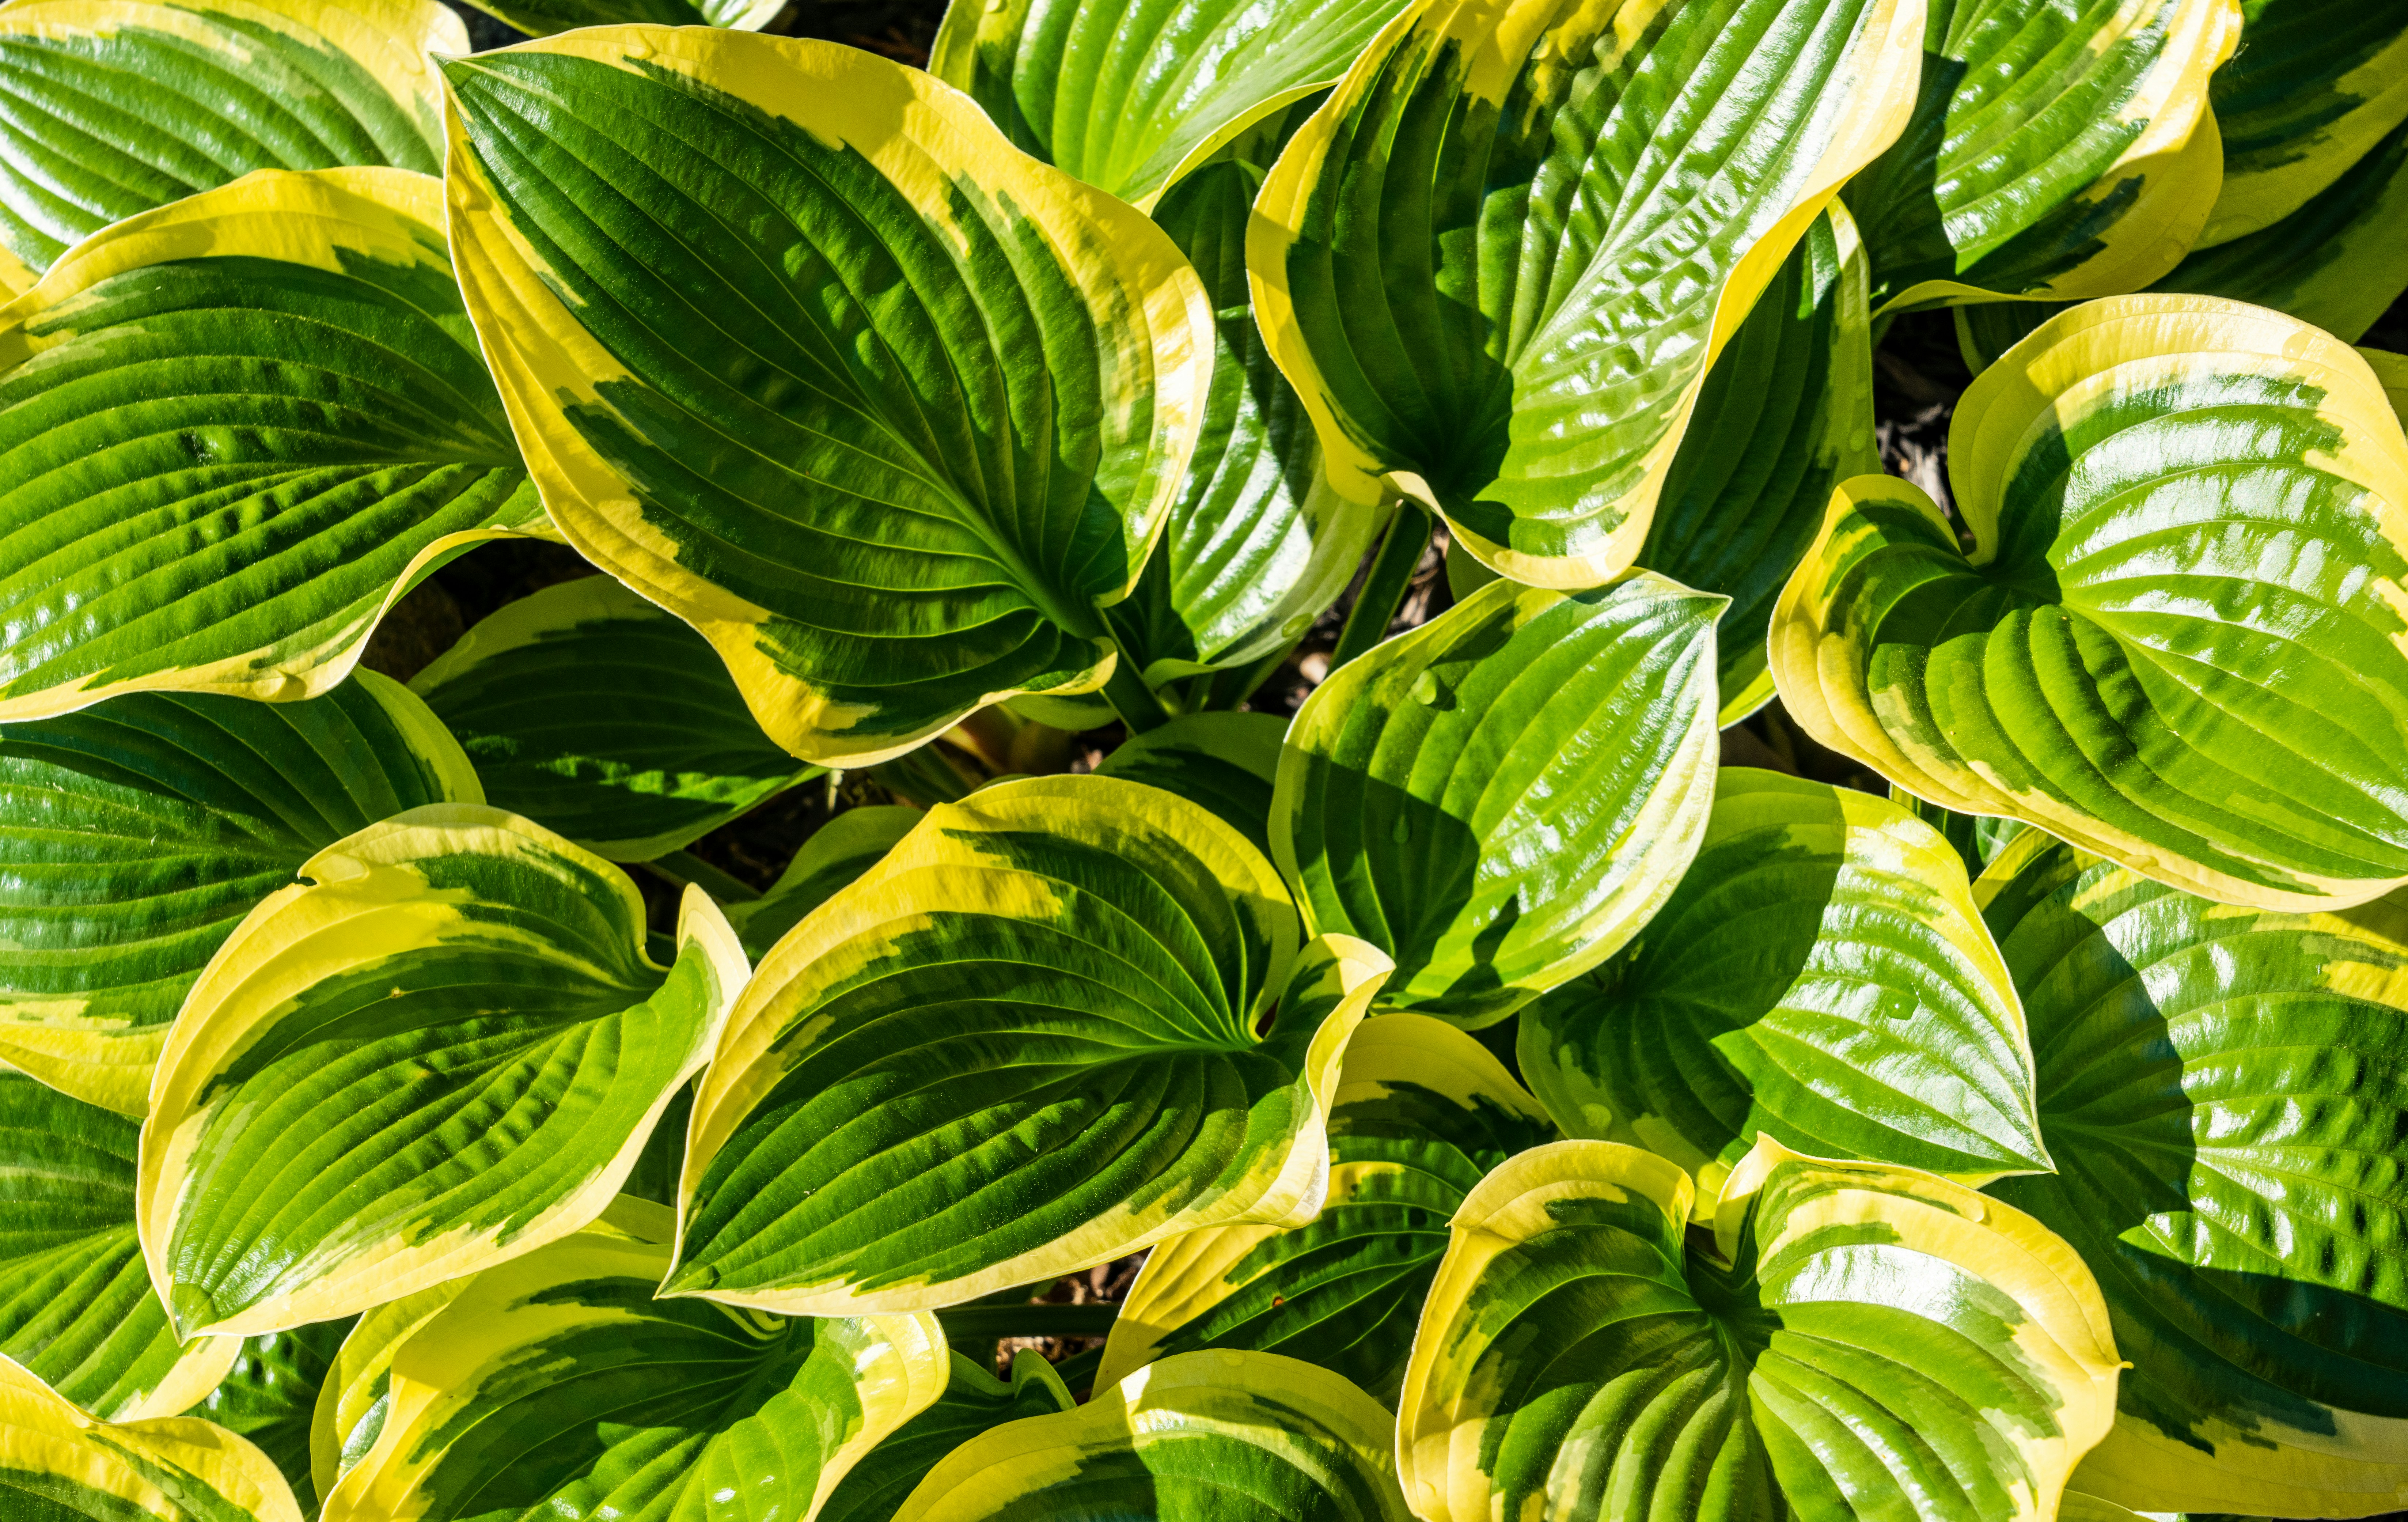
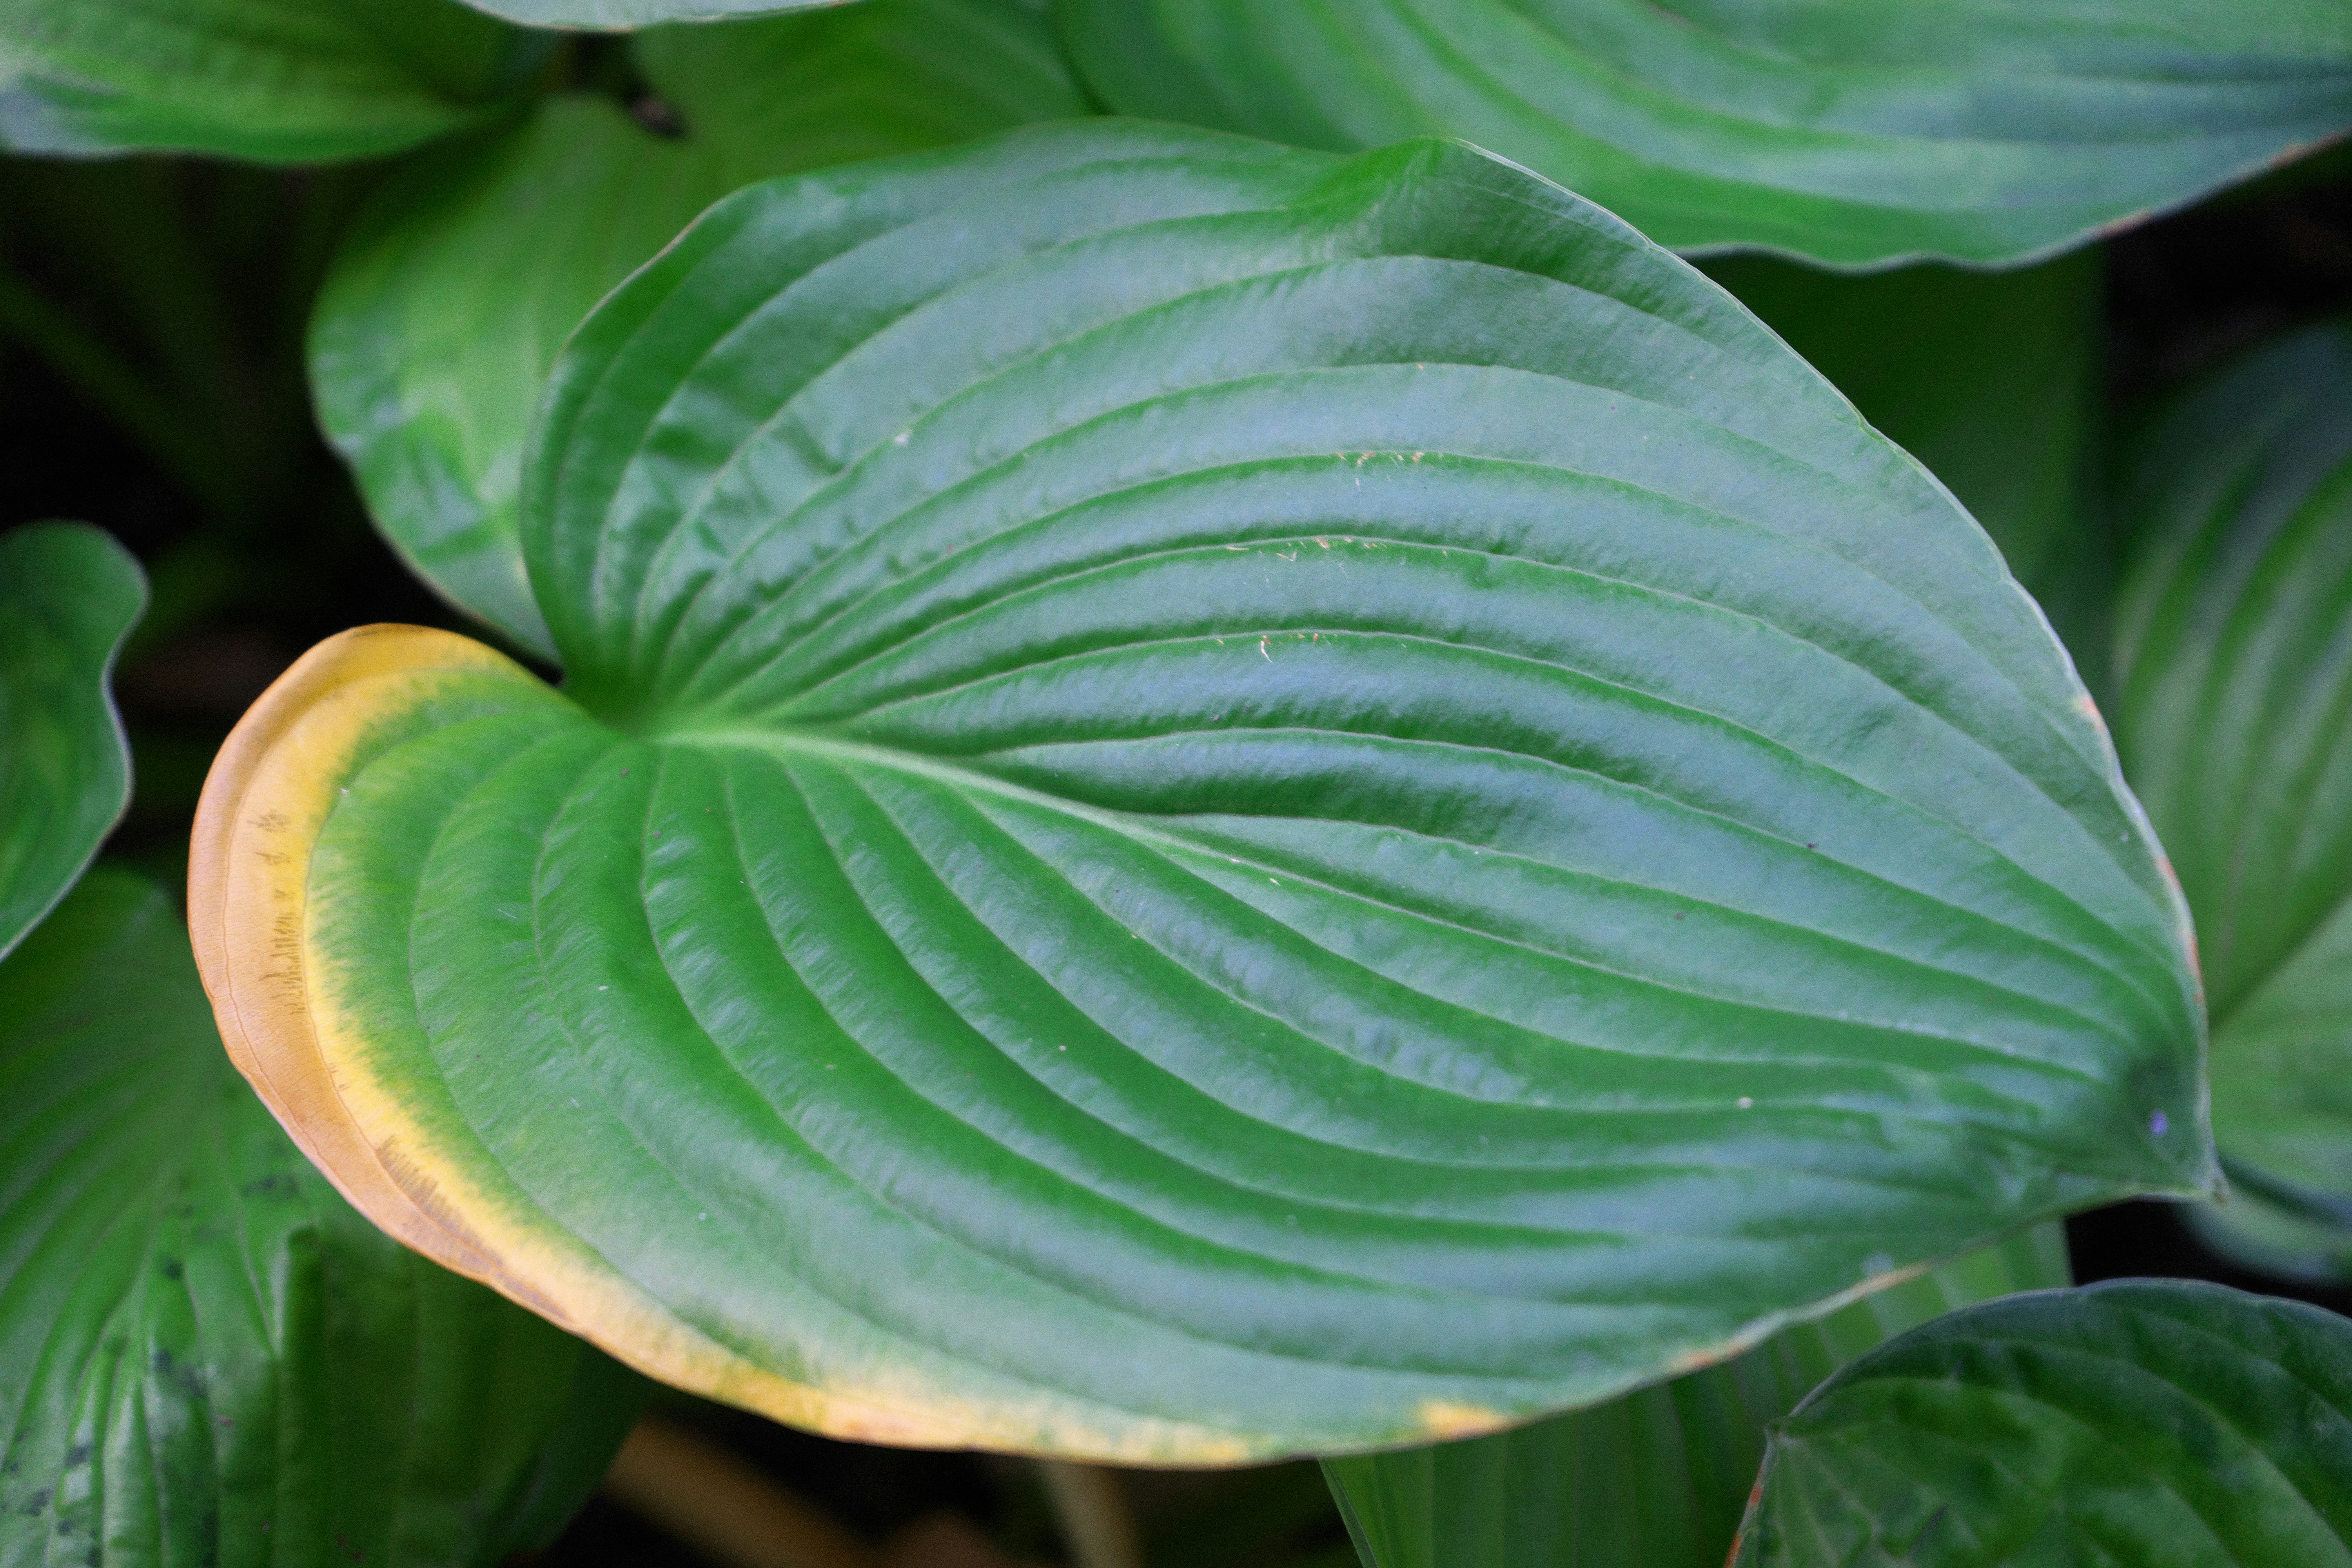
Hostas are hardy, low-maintenance perennials valued for their attractive foliage, which ranges from deep greens to blue hues, chartreuse, and variegated forms.
While the most common method of propagation is by division, propagating from cuttings is possible when specific conditions are met.
This guide covers not only how to propagate hostas from cuttings but also where they grow best and the ideal timing for hosta propagation.

Ideal Growing Conditions for Hostas
Hostas thrive in part shade to full shade, making them excellent choices for woodland gardens, under trees, or along the north and east sides of buildings.
While they can tolerate morning sun, intense afternoon sunlight can scorch their leaves, especially in warmer climates.
Soil Requirements
They prefer moist, well-drained soil rich in organic matter. Adding compost or aged manure improves both drainage and nutrient content.
Hostas do not like to sit in waterlogged soil, which can lead to root rot.
Climate and Hardiness
Most hostas are hardy in zones 3 to 9, with some varieties tolerating colder climates when properly mulched.
In warmer regions, choosing heat-tolerant cultivars and protecting them from excessive sun becomes more important.
How Do You Propagate Hostas?: Propagating Hostas from Cuttings Step-by-Step

#1: Choose a Healthy Parent Plant
Select a mature hosta with several eyes. Younger plants may not yet have enough crown mass to spare for cutting. In hostas, "eyes" refer to the growing shoots or buds that emerge from the crown of the plant. These are the points where new leaves will develop, and a mature hosta will typically have several of these eyes.
#2: Gather Your Materials
Sharp, clean knife (like a Hori Hori knife), pruning shears, or shovel
Rooting hormone (optional)
Small pots and well-draining potting mix
Plastic bags or humidity dome
Water spray bottle
#3: Take the Cutting
Locate a single shoot or eye at the edge of the clump.
Use your knife/shovel to slice a wedge-shaped section of the crown that includes at least one eye and a small portion of basal crown tissue.
Ideally, the cutting will also have some roots attached. NOTE: Hostas do not root from leaf cuttings alone, so crown tissue is essential.
#4: Prepare and Pot the Cutting
Remove excess leaves, especially large ones that draw energy from the cutting.
Dip the crown end in rooting hormone to encourage new root formation.
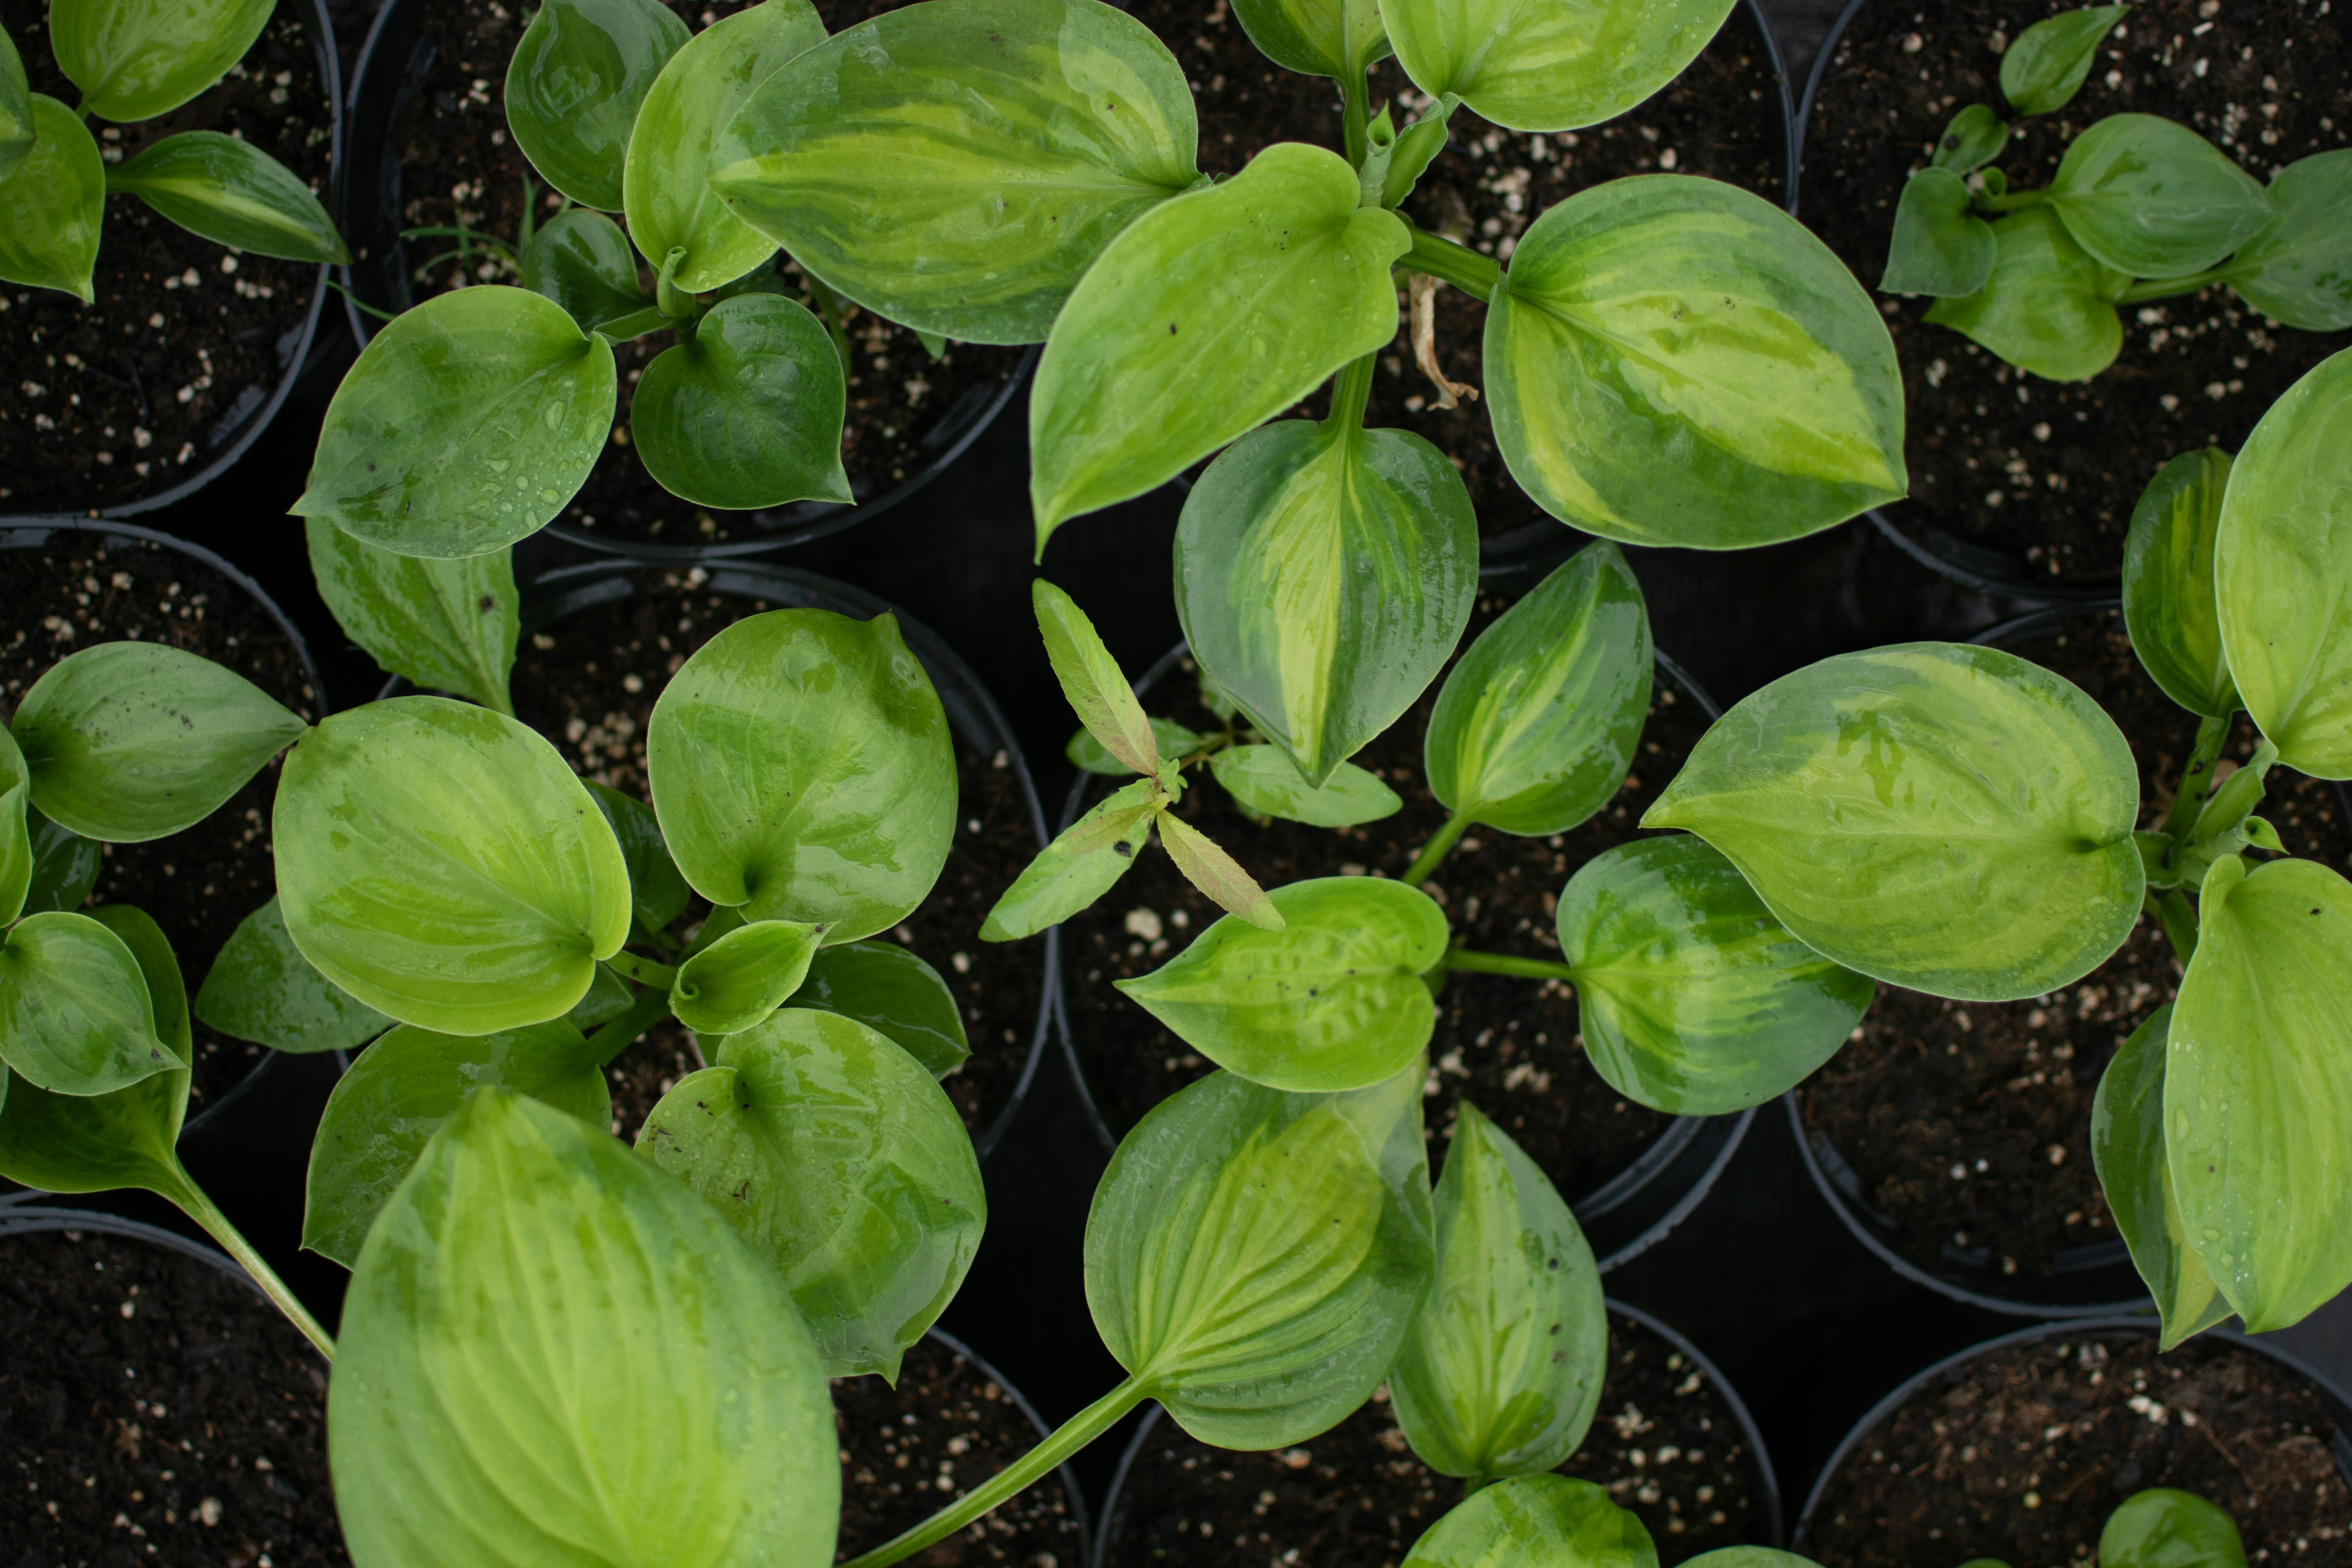
Plant in a small pot filled with lightly moistened soil.
Firm the mix around the base and ensure the eye is just above the soil surface.
#5: Maintain Moisture and Humidity
Cover the pot with a clear plastic bag or place it in a mini greenhouse to keep humidity levels high. Keep the cutting out of direct sun, and maintain soil moisture without letting it become soggy. Mist the inside of the plastic as needed to prevent drying out.
#6: Monitor for Root Development
In 2 to 4 weeks, gently tug the cutting. If you feel resistance, roots are forming. New leaves are also a good sign of success. Once the plant is growing steadily, begin acclimating it to open air by removing the humidity cover for a few hours each day.
Best Tips for Propagating or Dividing Hostas

Choose the Right Time
Early spring (just as the shoots are emerging) is ideal for both division and hosta plant propagation. Early fall is also acceptable, but give the plant enough time to establish roots before the first frost. Avoid dividing during the heat of summer or late in the season.
Water Well Before Dividing
Water the plant thoroughly the day before you divide it. Moist soil makes digging easier and reduces stress on the plant.
Use Clean, Sharp Tools
Use a spade, garden fork, or sharp knife to lift and divide the hosta. Sterilize tools beforehand to prevent disease transmission.
Dig Deep and Wide
Dig several inches out from the crown to avoid damaging the roots. Gently lift the entire clump with as much root mass as possible.
Divide by the Eyes
Each division should have at least one or two eyes (the growing points or shoots) and a healthy portion of root. More eyes will result in a fuller plant more quickly.
Don’t Be Afraid to Be Firm
For large, dense clumps, you may need to cut through the crown with a sharp knife or saw. Hostas are resilient and will recover well when divided properly.
Replant Promptly
Replant divisions as soon as possible. Set them at the same depth as they were growing before, with the crown at soil level.
Water and Mulch
Water thoroughly after replanting to help settle the soil and reduce transplant shock. Add mulch to retain moisture and suppress weeds, but keep it clear of the crown to avoid rot.
Provide Shade During Recovery
Newly divided plants benefit from filtered shade and consistent moisture as they re-establish. Avoid transplanting into full sun, especially in warmer zones.
Be Patient with Cuttings
If propagating by crown cuttings (rather than full divisions), give them time to root. Keep humidity high, soil lightly moist, and be patient—rooting can take a few weeks.
Happy Gardening!
Enjoy a FREE plant profile, garden layout, and garden notes printout with our downloadable propagating guide. Plus, get empowered with more Heirloom Wisdom education —join our membership today!

